Steps for Installing Multiple versions of QuickBooks desktop
One can perform the below stated set of steps, to successfully install multiple QuickBooks version of QuickBooks. Let us have a look:
· Just in case you haven’t already, then download the version or edition.
· Save the file somewhere you can easily spot it, such as windows desktop.
· Open the QuickBooks.exe that was downloaded earlier.
· Pay heed to the onscreen prompts.
· When you get the installation type, then pick custom and network options.
· Avoid opting for express.
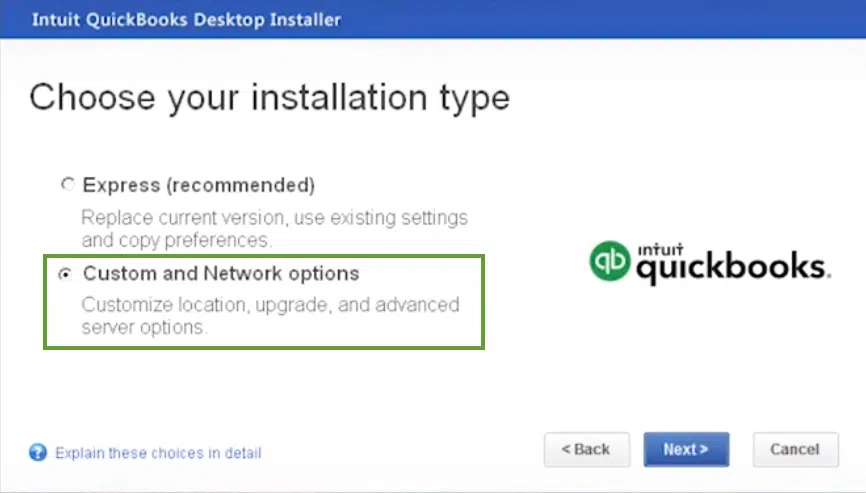
· Choose custom network option.
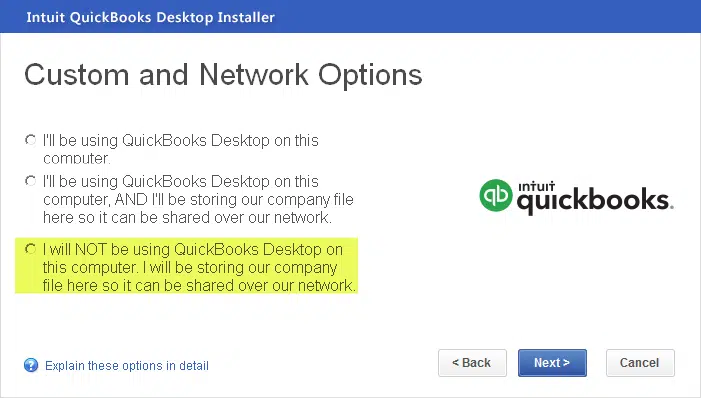
· In case you are planning to use QuickBooks only on this system and not share your files over a network, then select I’ll be using QuickBooks desktop on this computer.
· Whereas, if you are setting up a multi-user network, then select either I’ll be using, and or I will not be using depending on the setup.
· When installing multiple versions or editions, QuickBooks asks if you want to replace what’s currently on the computer.
· Don’t replace anything, unless that’s what you want to do.
· To avoid overwriting the data, create unique install folders for each version and edition.
· When you get to the upgrade to change installation location window, go for change the install location.
· Pick browse, and right click the window.
· Create a new folder.
· Avoid selecting the existing QuickBooks folder or any folders that have QuickBooks information.
· Perform onscreen steps to finish installing.
You now have to repeat the steps for each version and edition of QuickBooks that you want to install.


Comments
Post a Comment